
 |
| Disassembly |
 |
| Form blocks with newly pressed new parts. |
 |
| Re-assembly with original and new parts. |

 |
| LH fuselage is complete with the exception of one top skin and belly skins; stored and waiting for the completion of the RH fuselage. |
 |
| Canopy installed into position. |
 |
| Belly and doghouse skins clecoed into position. |
 |
| Skins riveted on. |
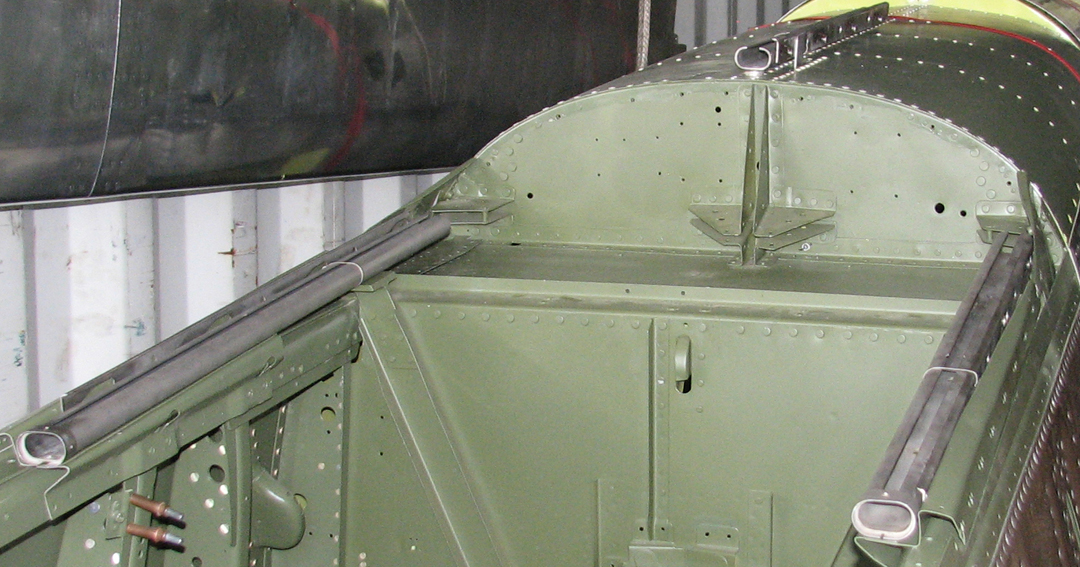
The left-hand fuselage in our new hangar.


Coolant exit door in trunk with the unskilled door in place up against the lip stop, held in place by the wood block

Left-hand fuselage installed on center section 24 July 2013

Pilot's electrical shelf and switch panel are installed

Pilot's electrical shelf

Pilot's trim box, landing gear handle and throttle quadrant are installed

Right-hand fuselage joins the left on the center section 27 August 2013

Left-hand battery door mold

Left-hand battery door installed

No comments:
Post a Comment